Disposable Camera Hacks for Multiple Exposures

Turn the Kodak FunSaver over so it is Lens Up
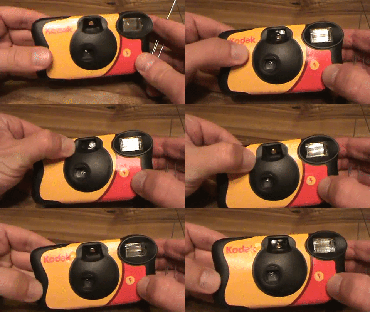
Look at the TOP LEFT CORNER. Rub it and see the indentation. This is where the holes are located.
Rip the Sticker Off
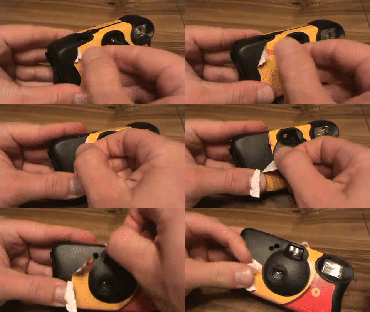
Rip the Sticker to reveal black plastic shell beneath. No reason to be gentle here. It's basically a sticker that surrounds the tough plastic body of the camera.
Take a Paper Clip and Straighten It Out
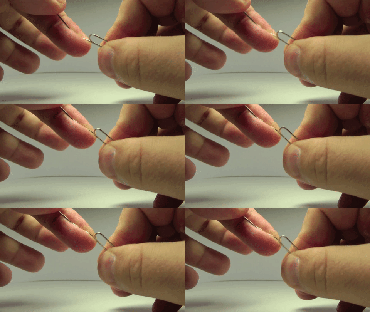
A Large to Medium sized paper clip works the best for this operation.
Insert the Paper Clip Diagonally and Turn Left
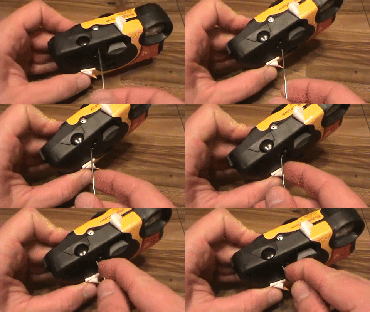
Begin by entering from the left side, pointing the paper clip at roughly a 45 degree angle. Once you have felt the tip of the paper clip go as far in as possible, turn to the right (as seen above). You should feel a click. You have just backwinded the film.
Now You Can Engage the Shutter
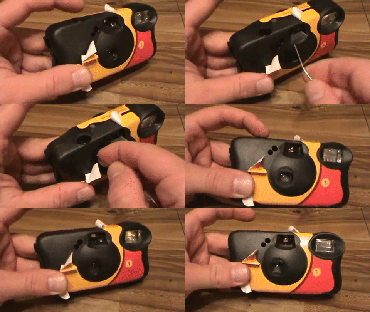
Now, you can frame your shot. Think about the composition of the previous image. Your new image will be an additional layer to the previous image creating a ghosting effect. Experiment and have fun!
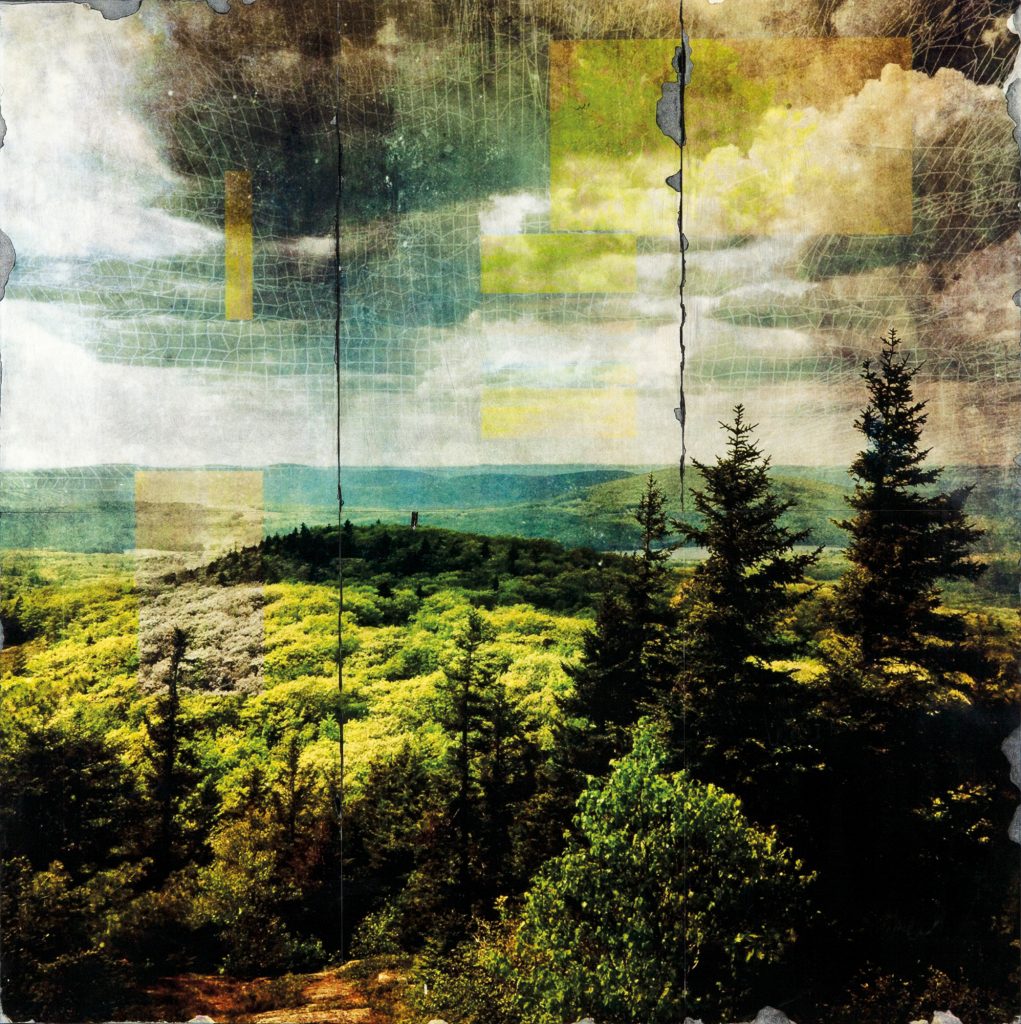
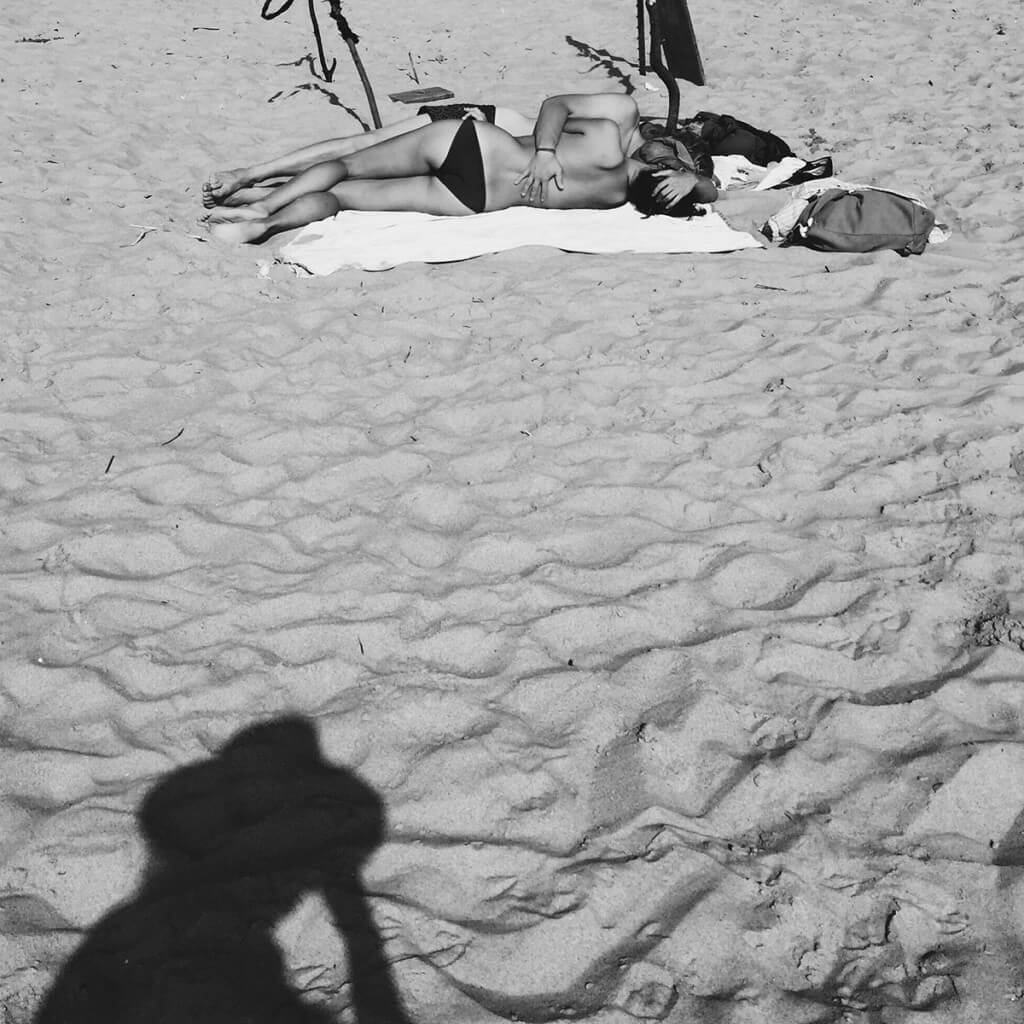
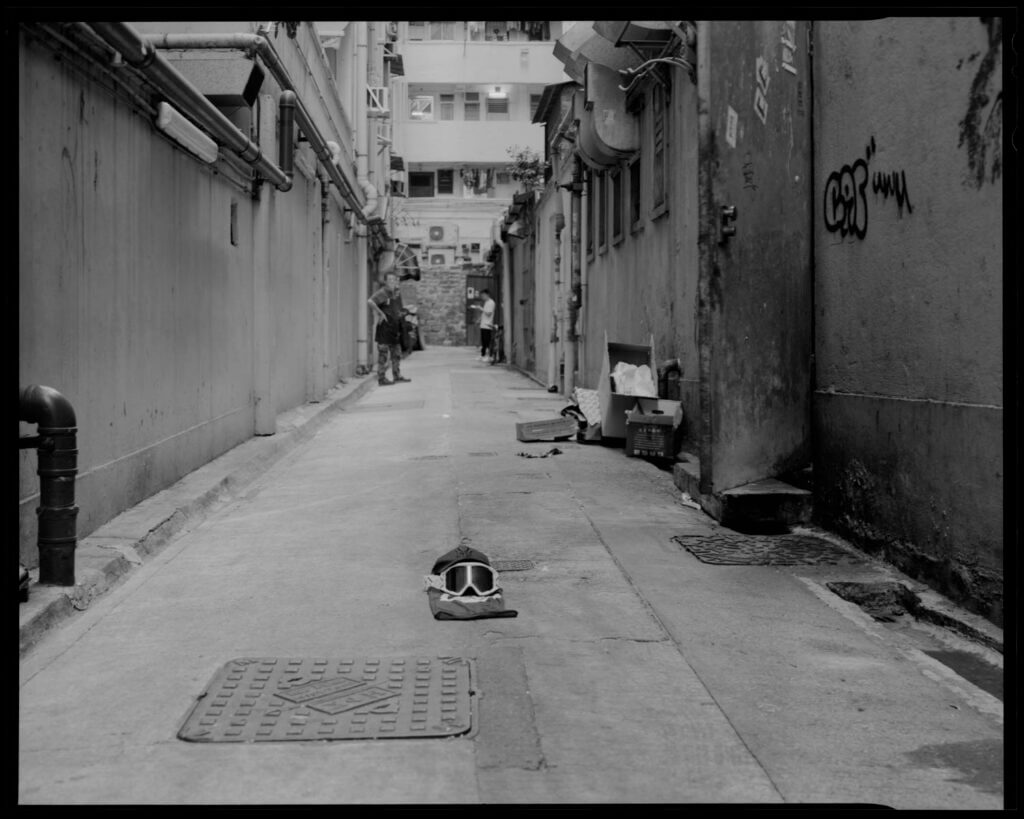
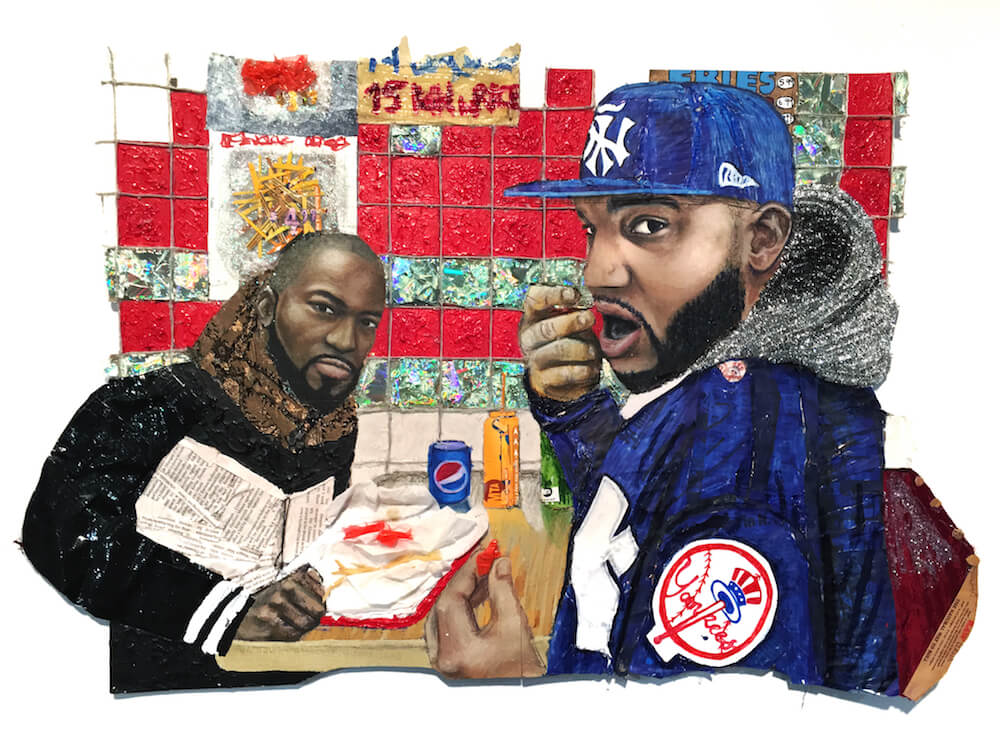
Examples of Multiple Exposure Photos

Here is an example of multiple exposure photography by Nevins Manafe. Take a look at his YouTube Channel.


